
I’ve always loved upcycling and restoring furniture – I think it’s fabulous that I can take an item, and give it a whole new look and life. I also love the fact that upcycling furniture allows you to create something that is totally unique and perfect for you!
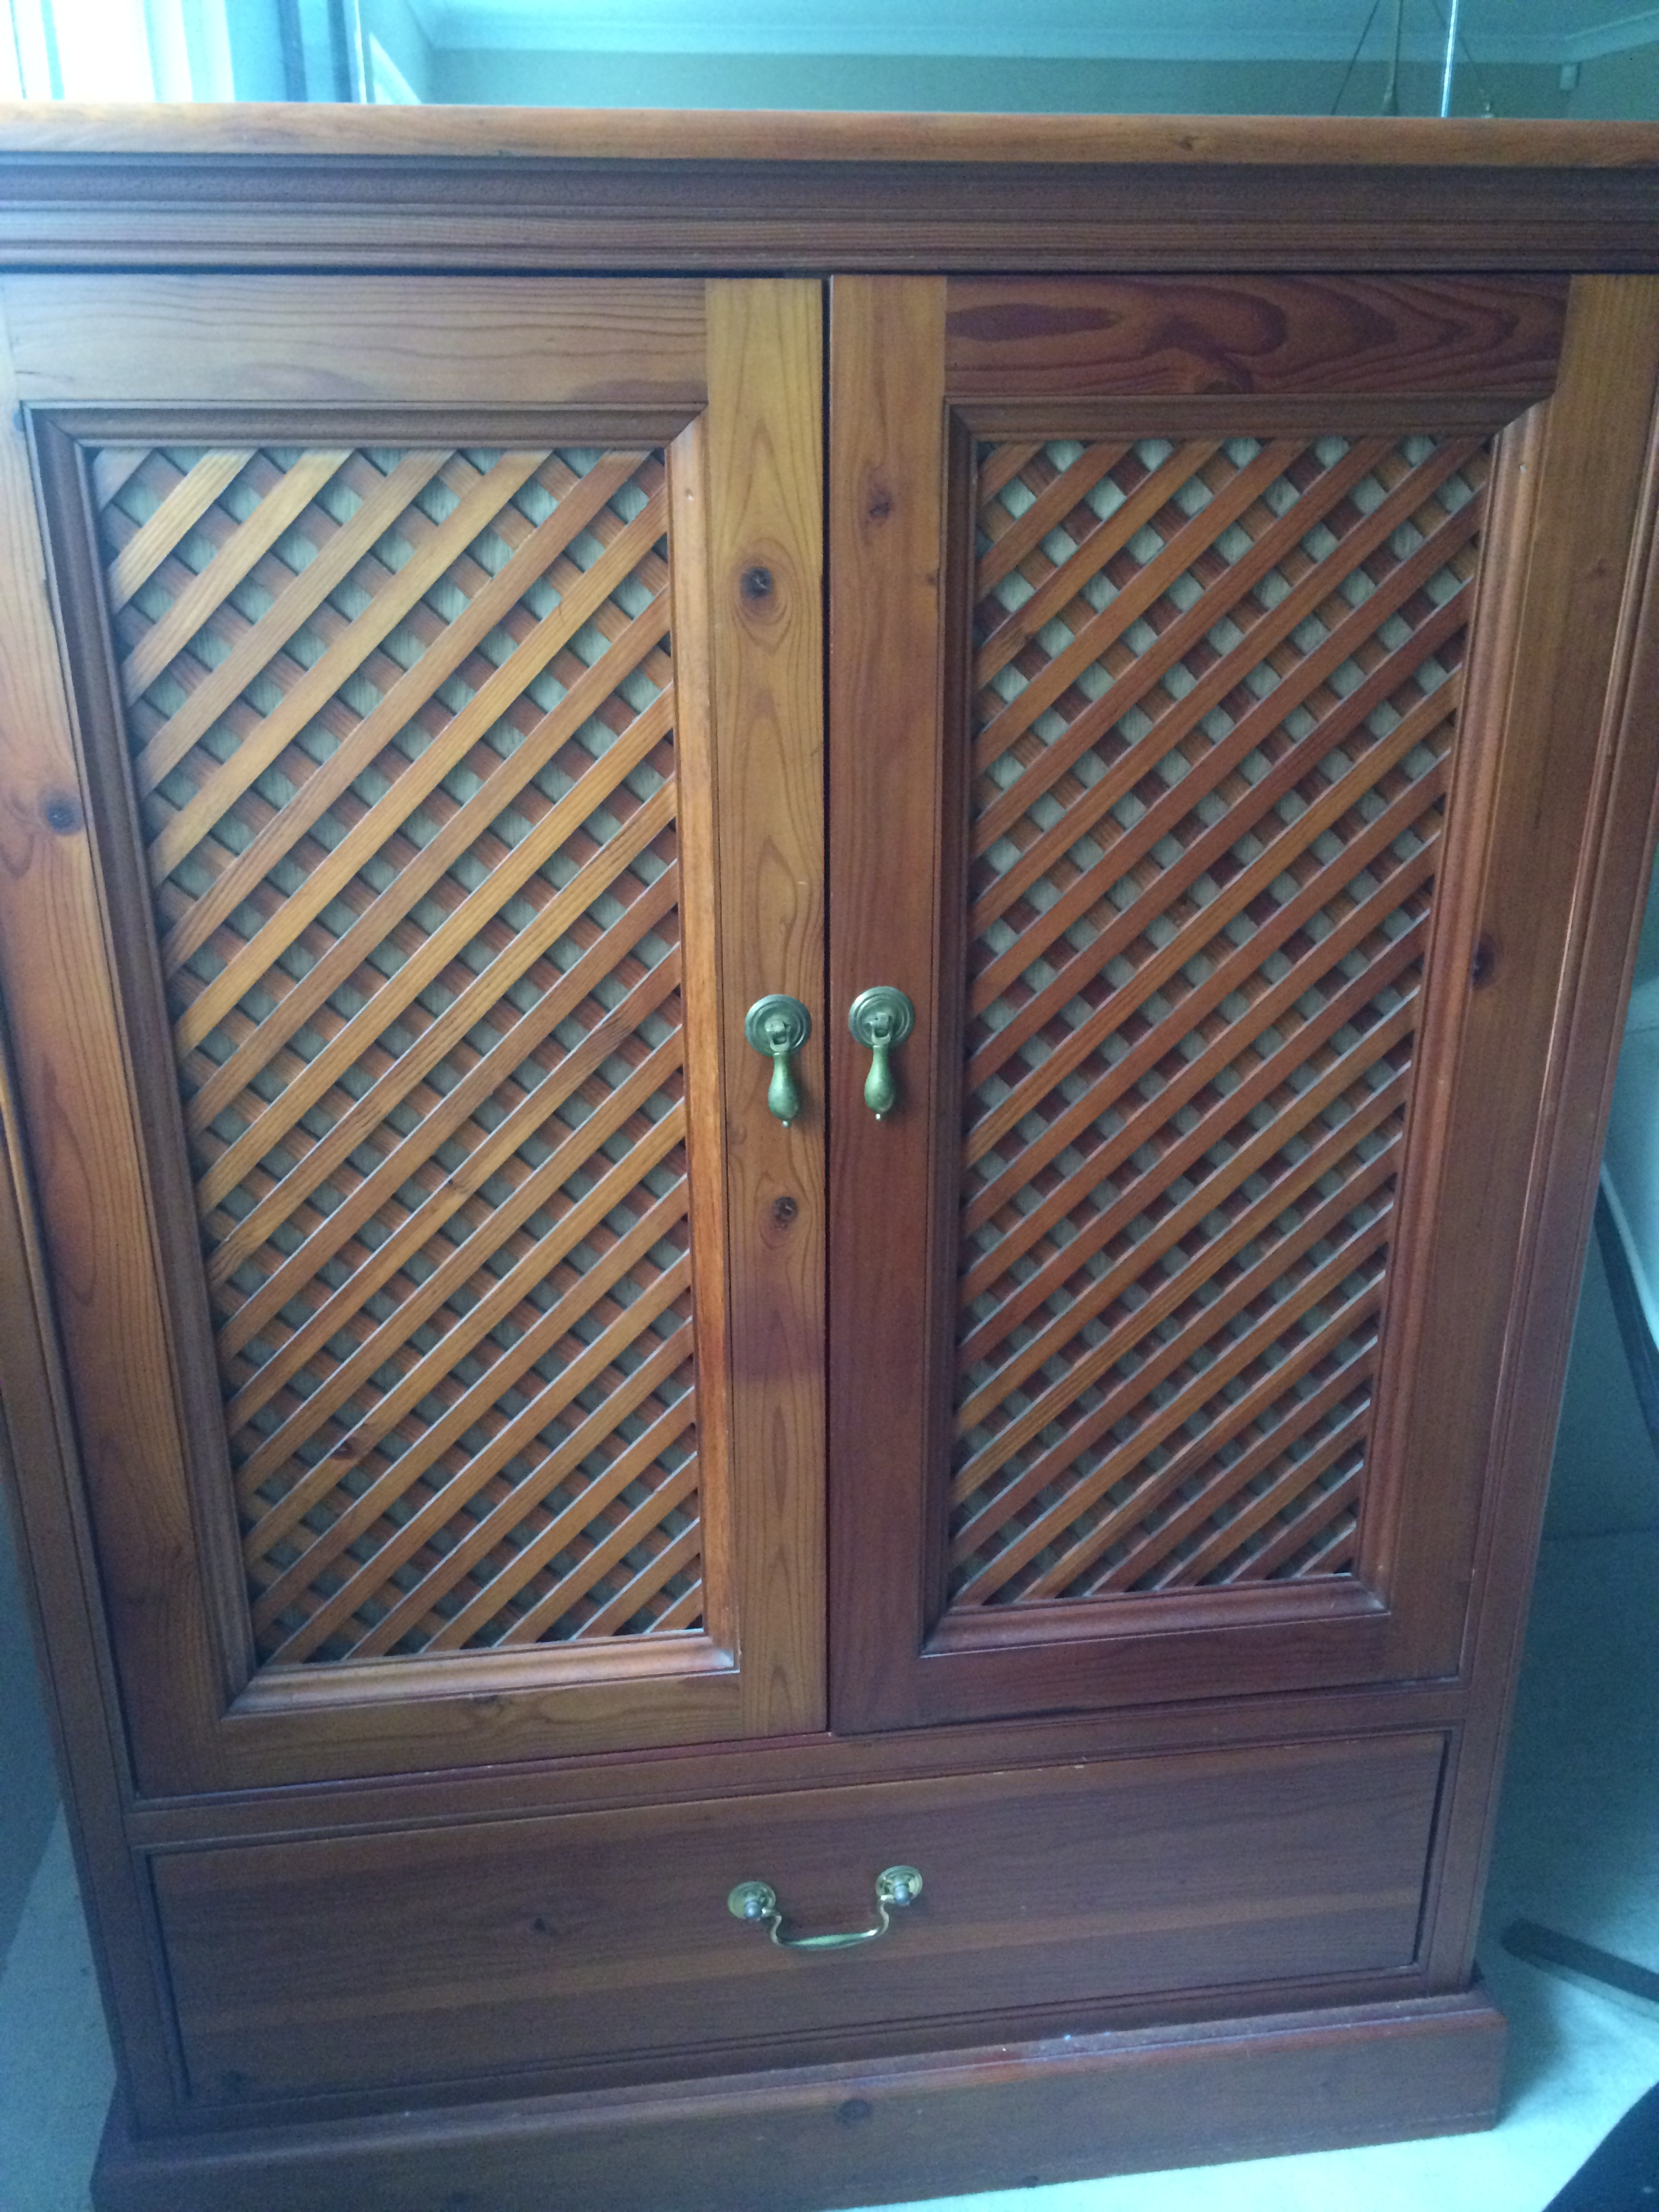
My parents had an old cabinet that they didn’t want anymore – Since the birth of flat screen TV that are wall mounted, TV cabinets like this one became almost obsolete. Saying that, this was a high quality cabinet, that weighs an awful lot, so I didn’t want to just get rid of it. Instead, I painted it up, added some new hardware, and created a timeless looking piece of furniture, that works perfectly with my décor.
Here’s the before –
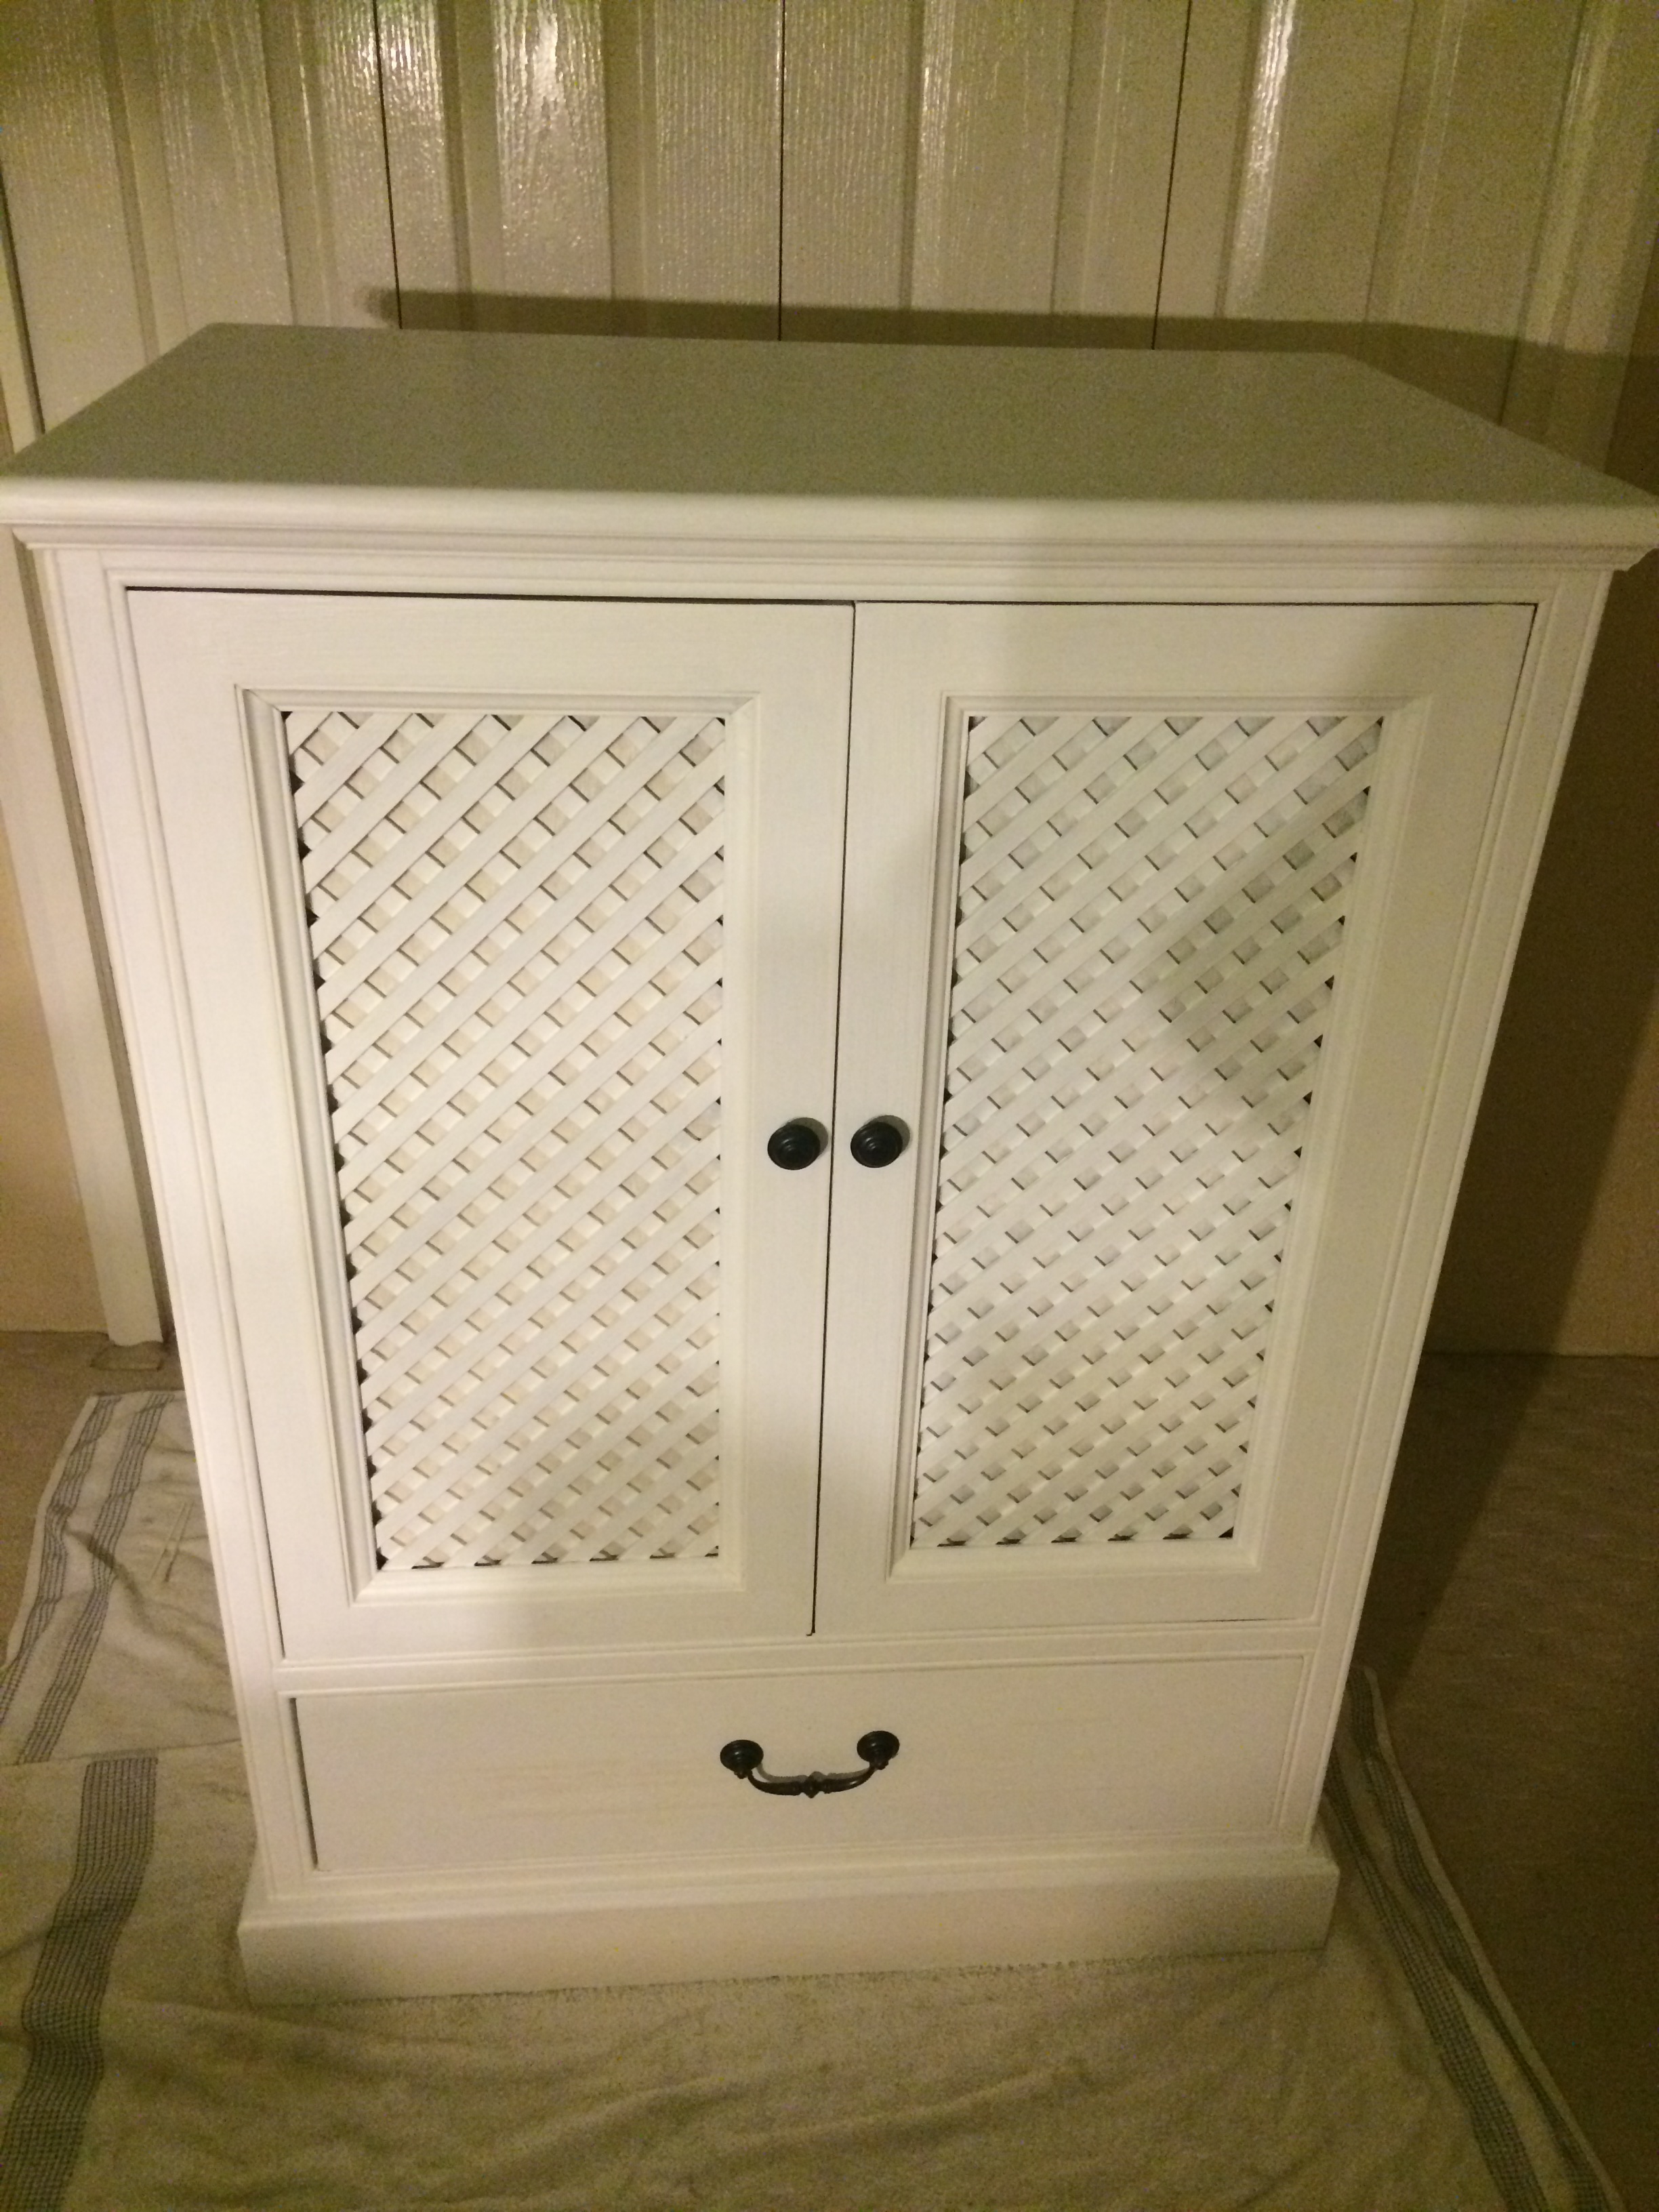
Here’s the after –
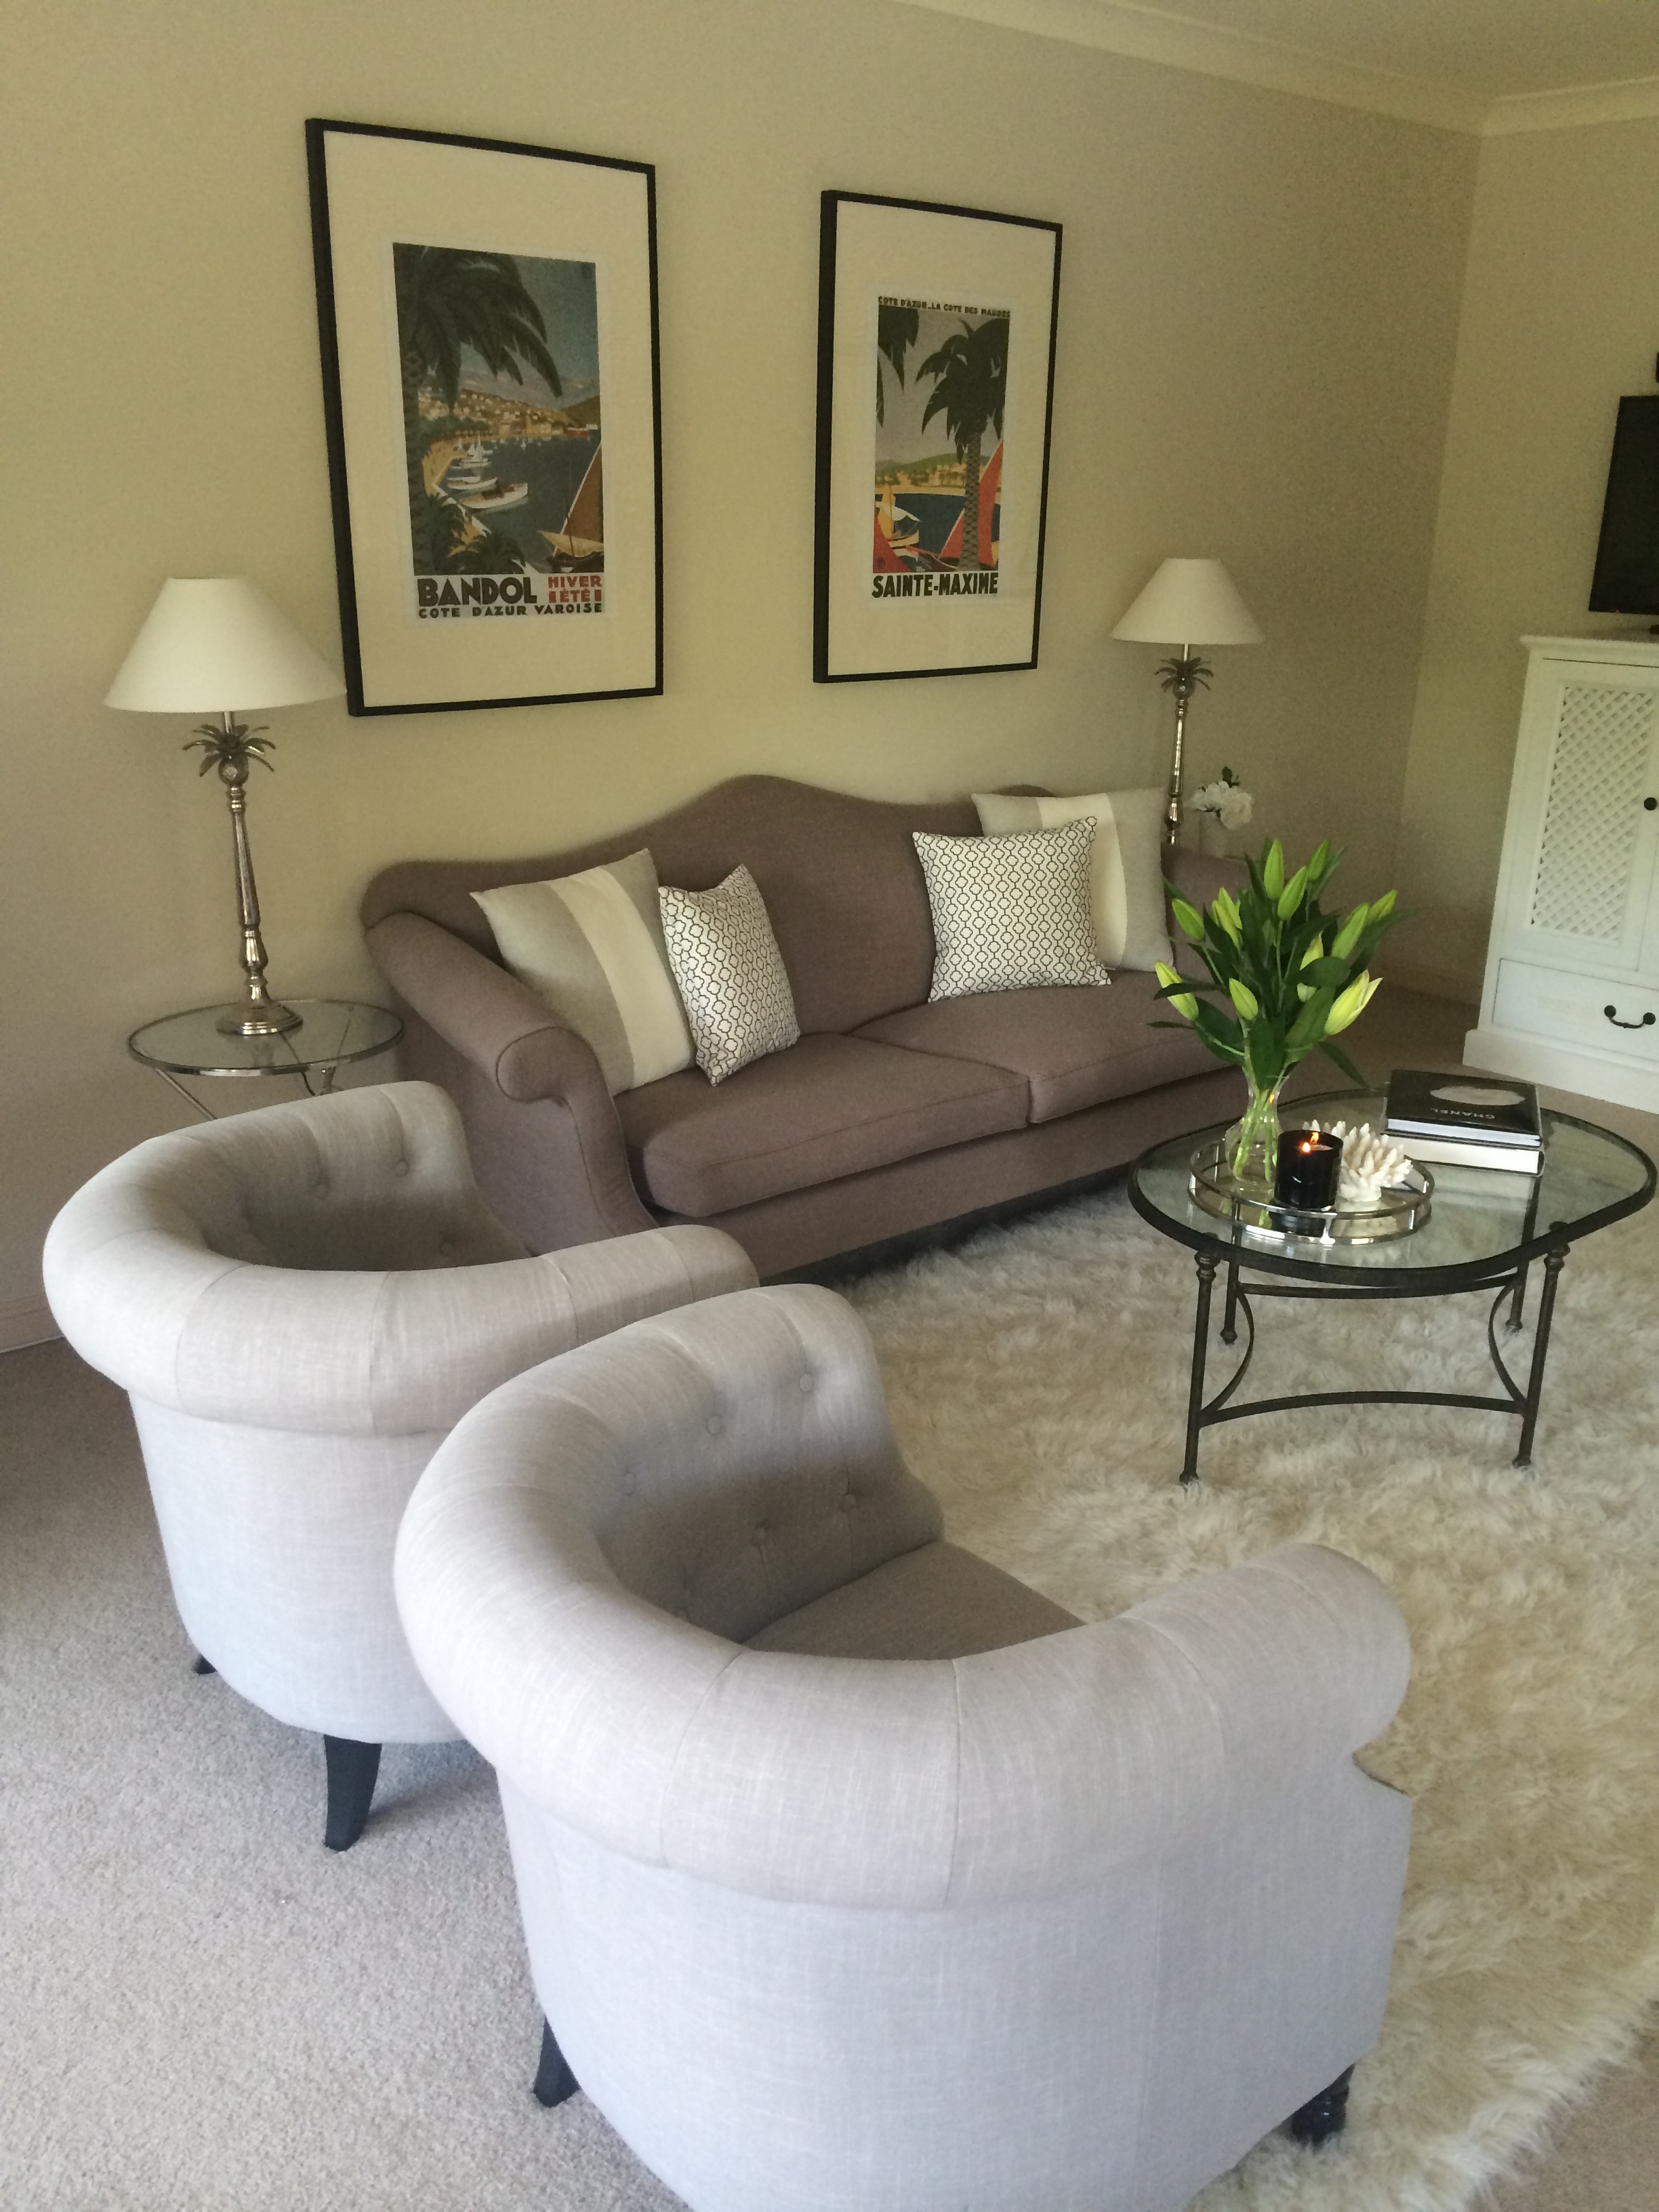
And here it is, nestled in my lounge room, housing hundreds of CDs.
Painting and updating furniture is not difficult, however it is a little time consuming. The varnish on this cabinet was thick, and all needed to be sanded off before painting. That’s the hard part. But, take your time, and the results will be worth it. Next, I wiped the cabinet down to remove any dust / dirt, with a damp cloth and allowed to dry.
The painting part is fun. I used a satin finish, water based paint, but you can use anything you like. I wanted a matt finish in a slightly off white to give it that Hamptons look at I love so much. Paint these days is fast drying, so I was able to recoat after two hours. I actually went for a third coat, as I wanted maximum coverage.
Once the paint was dry, I was able to add my new hardware. I bought this from Bunnings and it was so easy to remove the old knobs and replace them. They were really inexpensive too, and I think all in all, I spent about $60 updating this cabinet.
For more information, hints or tips, get in touch!
Carla at Palm Grove Style
xx
